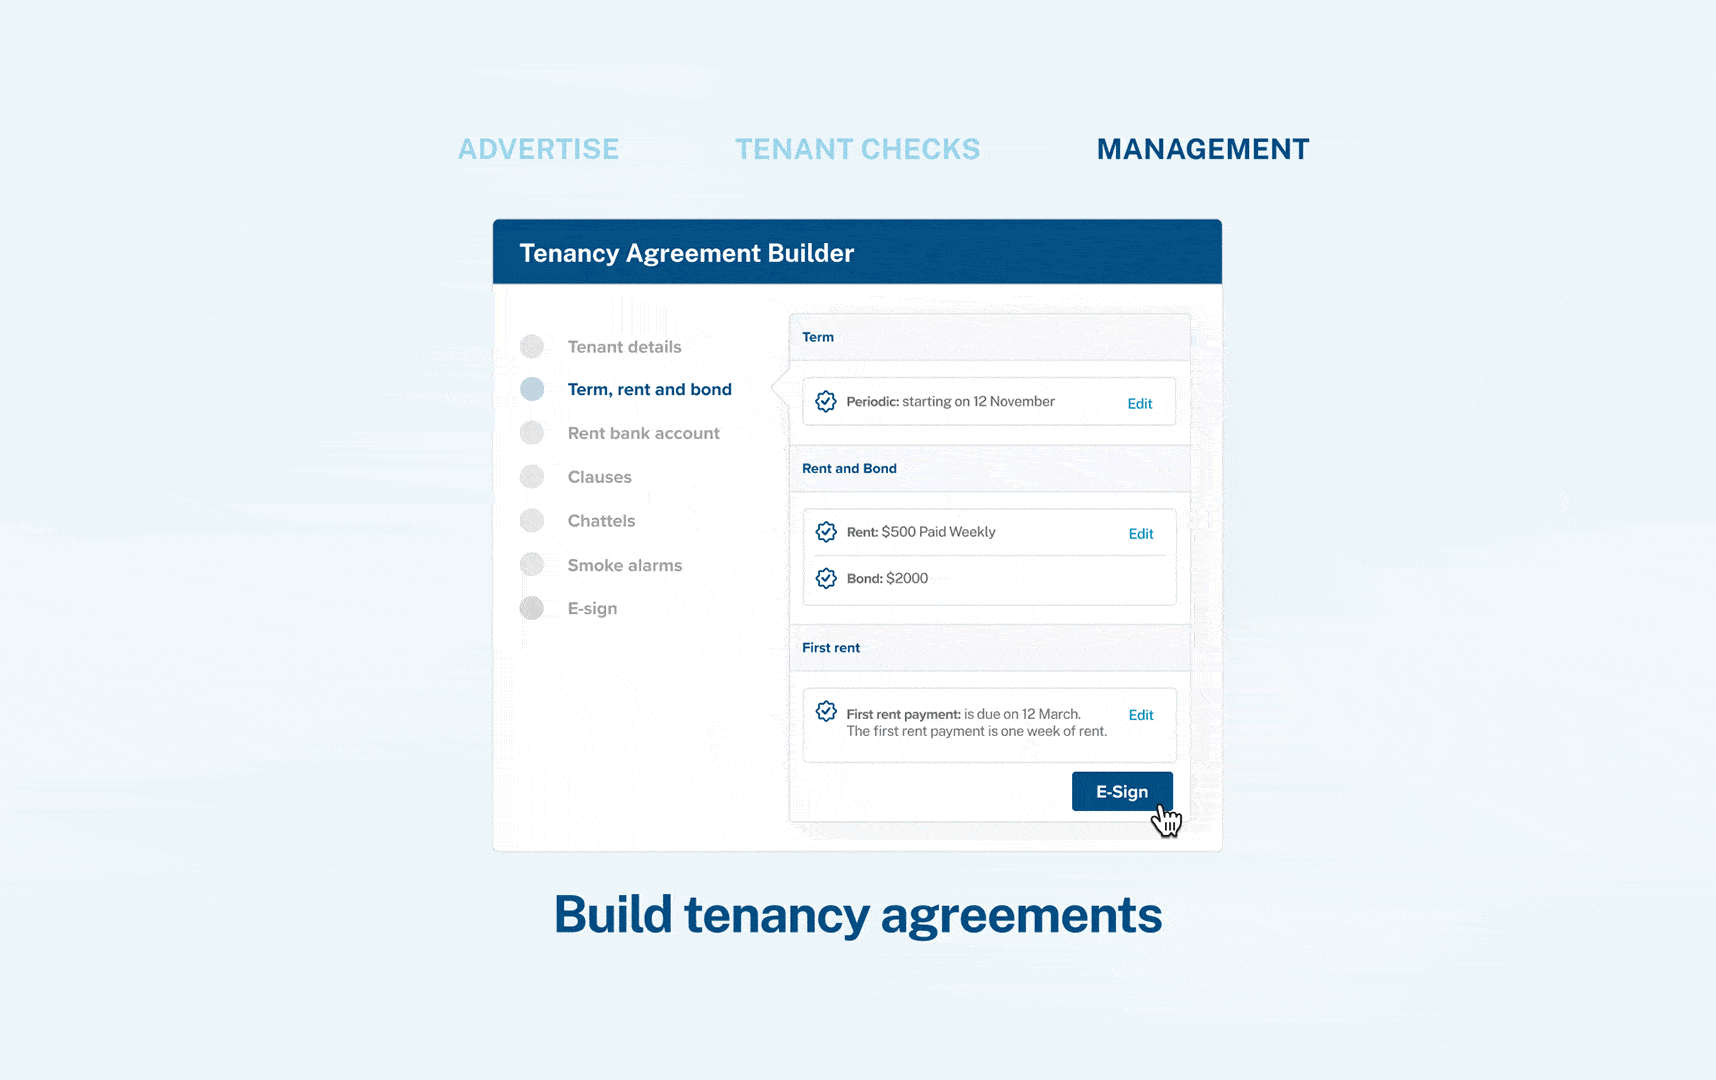
Step 1: When you get to the rent part of the tenancy setup, click on Set up your rent

Step 2: Select Add your bank details

Step 3: Then either select an existing account from the dropdown and choose Select bank account or select Add a new bank account followed by adding the details and selecting Save bank account

Step 4: You will want to choose the Conversion date (Starting date of the rent statement) and click on Preview

Your Conversion date is the day when you will start keeping track of all rent transactions on myRent. (Note: You can also use a past date as your conversion date provided you’re able to enter all rent payments that have taken place).
Generally, when setting up existing tenancies, we recommend starting by recording rent from when you start using myRent for the smoothest transition, with the option to configure this at a later stage to add the historic rent payments once everything is up and running smoothly.
You can do this by following the steps here.
Step 5: The rent due day will default to the same day as the agreement start day, so if this had changed since the tenancies start date you will need to do a change of due day.
Step 6: Once the rent statement looks correct, click on Looks good! Let's continue

Step 7: Next, choose your rent collection method
If you’re getting stuck with setting up the rent statement as intended, please contact our dedicated support team by emailing hello@myrent.co.nz